Spring Cleaning Your Appliances: The Annual Deep Clean Checklist That Prevents Costly Breakdowns
Tired of appliance breakdowns costing you hundreds in repairs when you least expect it? Follow our comprehensive spring appliance cleaning checklist to prevent costly failures and keep your home running smoothly all year long.
Picture this: It’s the middle of summer, guests are coming over, and your refrigerator decides to quit working. Or maybe your dryer stops heating just when you need it most. These scenarios aren’t just inconvenient—they’re expensive. The average household spends between $300 to $500 yearly on appliance repairs, but smart homeowners who follow a systematic spring appliance cleaning checklist often cut those costs in half.
Spring isn’t just about decluttering closets and washing windows. It’s the perfect time to give your hardworking appliances the deep clean they deserve. After months of winter use, appliances accumulate dust, lint, and buildup that can seriously impact their performance. A comprehensive spring home appliance care routine does more than keep things looking nice—it prevents the kind of problems that lead to emergency repair calls and shortened appliance lifespans.
The beauty of seasonal appliance cleaning lies in its timing. Spring weather provides ideal conditions for deep cleaning tasks that require ventilation and drying time. Plus, you’re preparing your appliances for the increased demands of summer when air conditioners work overtime and refrigerators struggle to keep things cool during heat waves. By following proven appliance spring cleaning tips now, you’ll avoid the stress and expense of mid-summer breakdowns.
Key Outtakes:
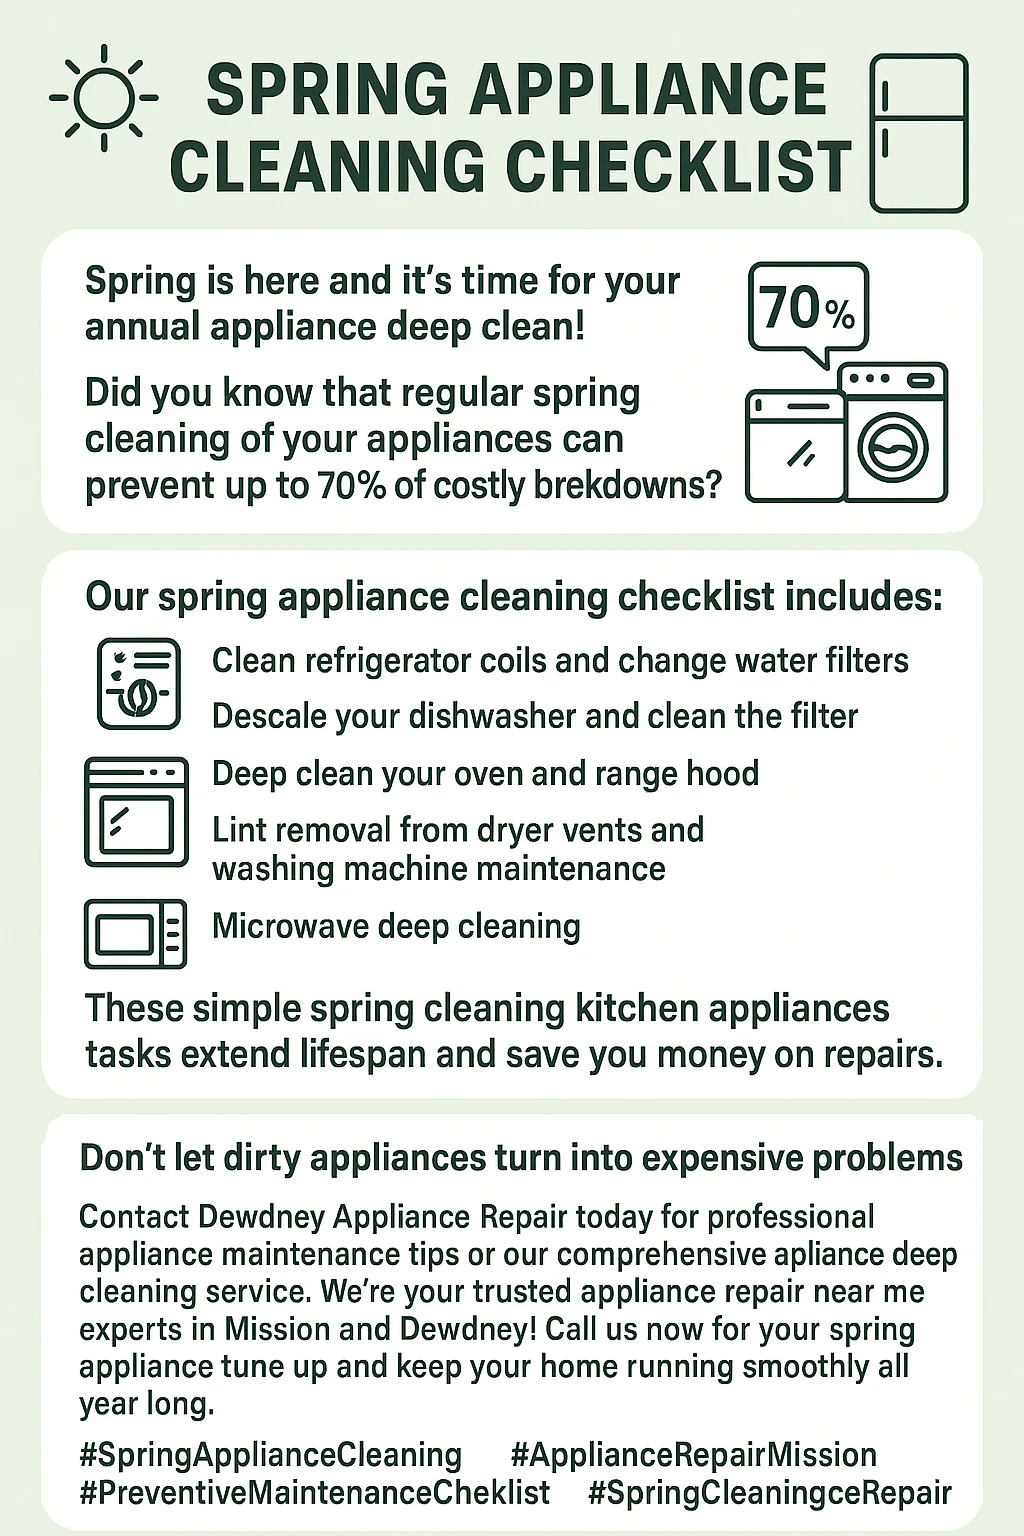
- Regular spring appliance cleaning can reduce annual repair costs by up to 50% and extend appliance lifespan by 5-10 years through preventive maintenance
- A systematic seasonal appliance cleaning guide prevents 80% of common appliance failures before they occur by addressing buildup and wear patterns early
- Professional appliance maintenance combined with strategic DIY deep cleaning creates the most cost-effective preventive care approach
- Spring timing aligns perfectly with warranty requirements and prepares appliances for high-usage summer months when breakdowns are most inconvenient
- Proper spring appliance tune up procedures can reduce energy consumption by up to 30% while dramatically improving efficiency and performance
Why Spring Timing Is Critical for Deep Clean Appliances Success

There’s something magical about spring that makes us want to refresh everything in our homes, and appliances are no exception. But beyond the psychological boost, spring offers practical advantages that make it the ideal time for your annual appliance maintenance schedule. The moderate temperatures and lower humidity create perfect conditions for tasks that require ventilation, like oven cleaning or dryer vent maintenance.
Winter usage patterns leave appliances working harder than usual. Your dryer battles increased loads of heavy sweaters and boots, while your refrigerator works overtime during holiday cooking marathons. By spring, dust has settled into coils, lint has accumulated in unexpected places, and mineral deposits have built up in water-using appliances. This accumulated buildup doesn’t just affect performance—it forces appliances to work harder, consuming more energy and putting extra strain on components that could lead to premature failure.
Spring cleaning also aligns perfectly with warranty and insurance considerations that many homeowners overlook. Most appliance warranties require documentation of regular maintenance, and spring provides an ideal opportunity to create that paper trail. Insurance policies often have specific requirements for preventive maintenance, especially for water-using appliances that could cause damage if they fail. By timing your maintenance strategically, you’re not just protecting your appliances—you’re protecting your coverage.
The seasonal transition from heating to cooling systems makes spring the natural checkpoint for HVAC equipment. As cooling demands increase, systems that haven’t been properly maintained will struggle to keep up, leading to higher energy bills and potential breakdowns during the hottest days of the year. Smart homeowners use spring as their annual system preparation time, ensuring everything runs smoothly when it matters most.
Essential Kitchen Appliance Spring Cleaning Checklist
The kitchen is command central for most homes, and it’s where appliance maintenance makes the biggest difference in daily life. After months of holiday cooking and winter comfort foods, your kitchen appliances need serious attention to perform their best. The good news is that most kitchen appliance maintenance falls squarely in the DIY category, making it both cost-effective and satisfying.
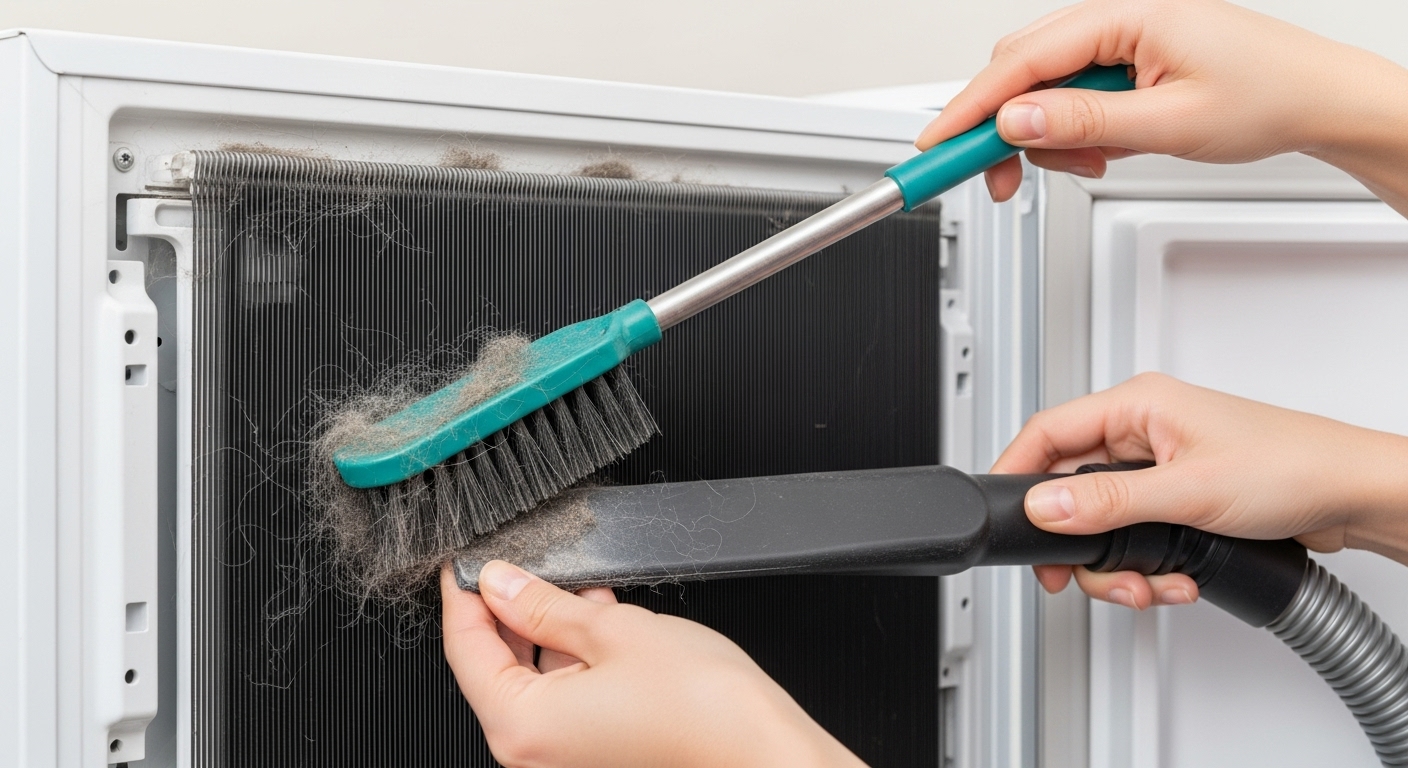
Your refrigerator deserves first priority in any spring cleaning routine. Those condenser coils hidden underneath or behind your fridge collect an amazing amount of dust and pet hair over winter months. When coils are dirty, your refrigerator has to work significantly harder to maintain cool temperatures, which can increase energy costs by up to 30%. Start by unplugging the unit and carefully vacuuming the coils with a brush attachment. While you’re at it, check door seals for cracks or buildup that could let cool air escape—a simple wipe-down with warm soapy water usually does the trick.
Don’t overlook the often-forgotten refrigerator water filter. Most manufacturers recommend replacement every six months, and spring is the perfect reminder. A clogged filter not only affects water taste but can also strain the ice maker and water dispenser systems. Take a few minutes to locate your filter—usually in the grille at the bottom or inside the refrigerator compartment—and swap in a fresh one.
Your dishwasher might seem self-cleaning, but it actually needs regular attention to prevent food debris buildup and mineral deposits. Remove the bottom dish rack and locate the cylindrical filter at the bottom of the tub. This little component catches food particles and can become seriously clogged over time. Rinse it under hot water and scrub gently with a soft brush to remove any stubborn buildup. Running an empty cycle with two cups of white vinegar on the top rack helps dissolve mineral deposits and freshen the entire system.
Oven maintenance varies depending on whether you have a self-cleaning model, but all ovens benefit from attention to the details. If you have a self-cleaning oven, now’s the time to run that cycle—just make sure to remove the racks first unless your manual specifically says they’re safe to leave in. For manual cleaning, a paste of baking soda and water left overnight makes even stubborn buildup easier to remove. Don’t forget to check your range hood filter, which catches grease and cooking vapors. Most filters can be removed and washed in hot soapy water, dramatically improving their effectiveness.
Smart Appliance Integration and Maintenance Tracking
Modern kitchen appliances often include smart features that can actually help with maintenance scheduling. Many newer refrigerators track filter life and usage patterns, sending alerts to your smartphone when maintenance is due. Take advantage of these features by setting up notifications and actually responding to them. Smart ovens and ranges may also provide performance data that can help identify when cleaning or maintenance is needed.
If your appliances aren’t smart-enabled, consider using smartphone apps or simple calendar reminders to track maintenance tasks. The key is creating a system that works for your lifestyle and actually reminds you when tasks are due. A well-maintained appliance tracker can help you spot patterns and optimize your maintenance timing for maximum effectiveness.
Laundry Appliance Spring Maintenance Protocol
Laundry appliances work harder than almost any other equipment in your home, processing load after load through all kinds of conditions. Winter brings heavy fabrics, muddy boots, and increased loads that can really challenge these workhorses. A thorough spring maintenance routine can prevent the most common causes of breakdown while improving efficiency and extending lifespan significantly.
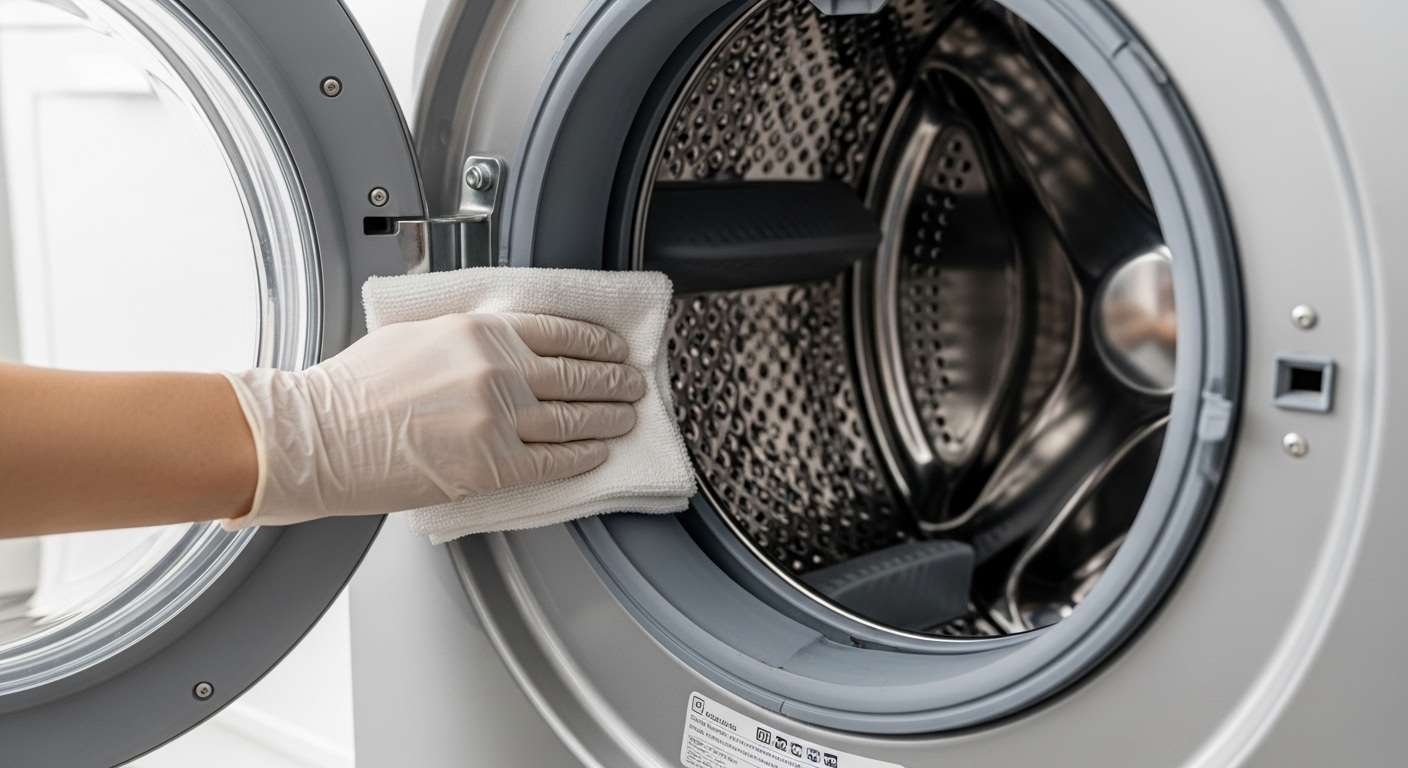
Your washing machine needs attention both inside and out. Front-loading machines are particularly prone to mold and mildew buildup around the door seal, where moisture and detergent residue create perfect growing conditions. Wipe down the rubber gasket with a solution of equal parts water and white vinegar, paying special attention to the folds where buildup tends to hide. For the drum itself, run an empty hot water cycle with two cups of white vinegar to dissolve buildup and eliminate odors.
Don’t forget to inspect those water supply hoses while you’re at it. Most manufacturers recommend replacement every three to five years, but regular inspection can catch problems early. Look for bulges, cracks, or any signs of wear, especially near the connections. A burst washing machine hose can cause thousands of dollars in water damage, making
